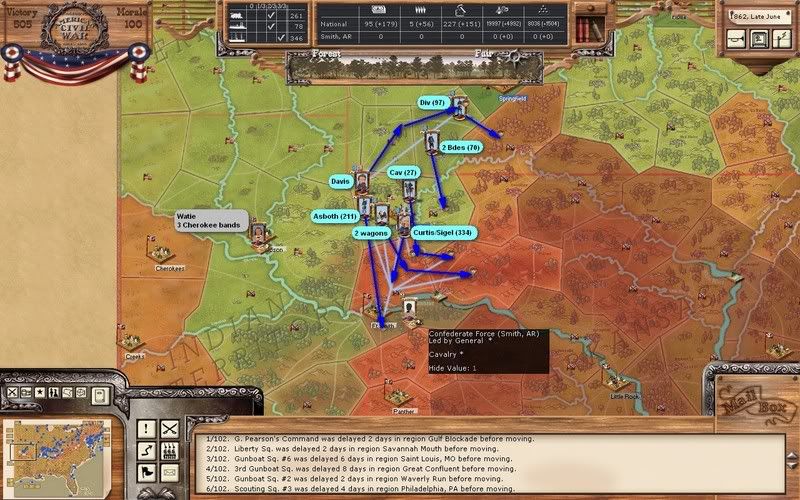
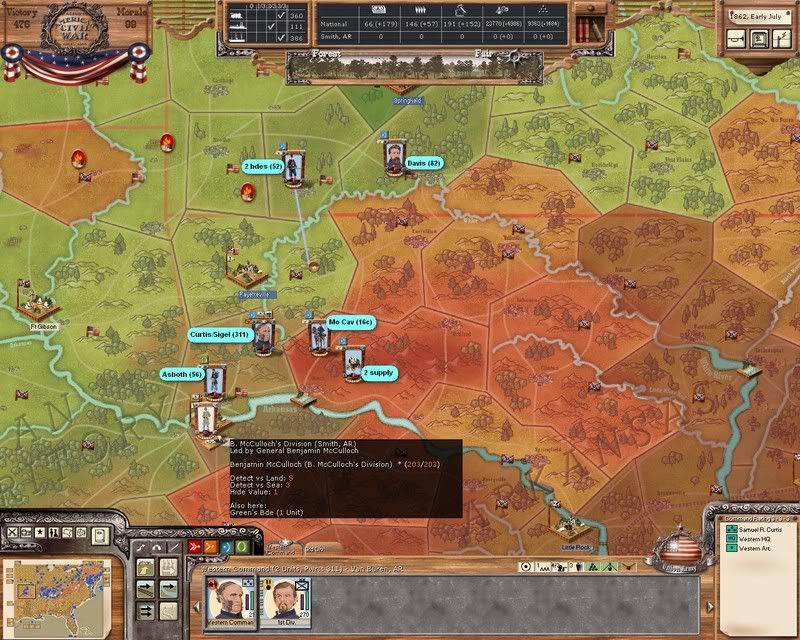
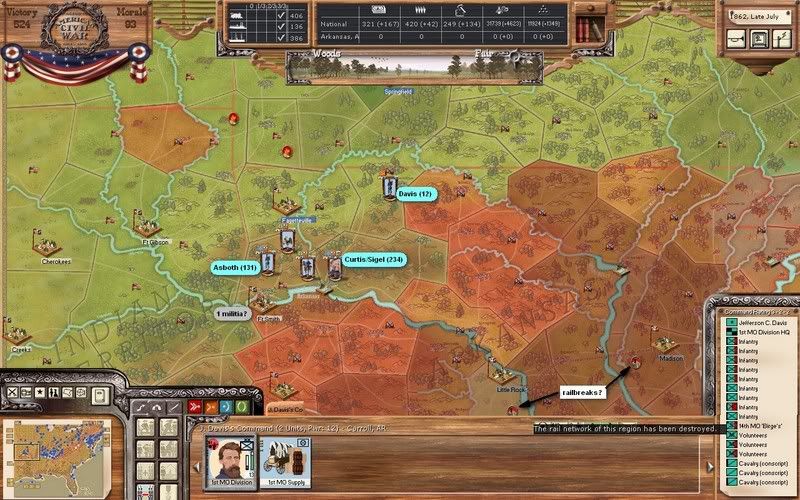
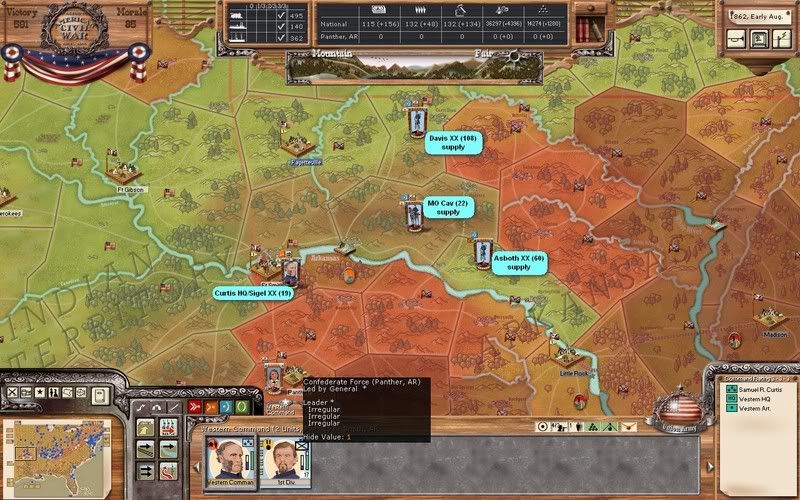
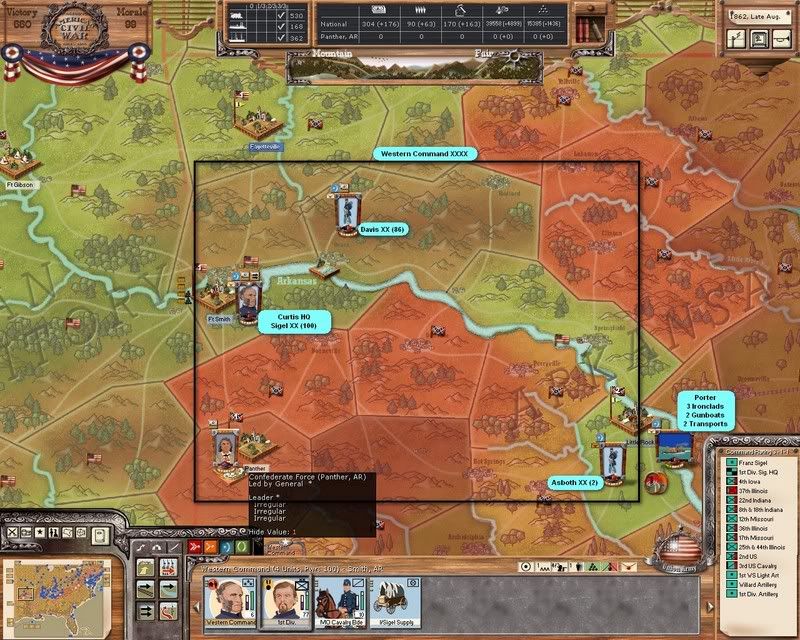
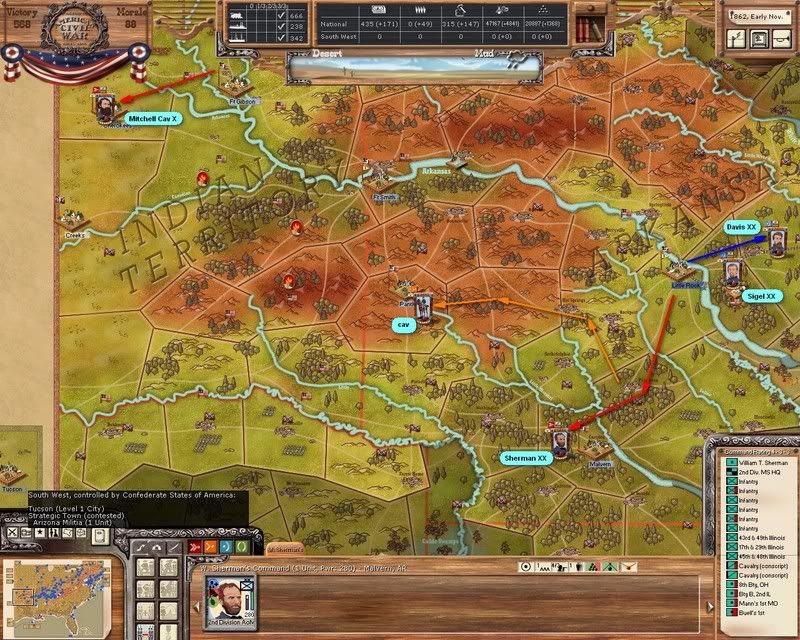
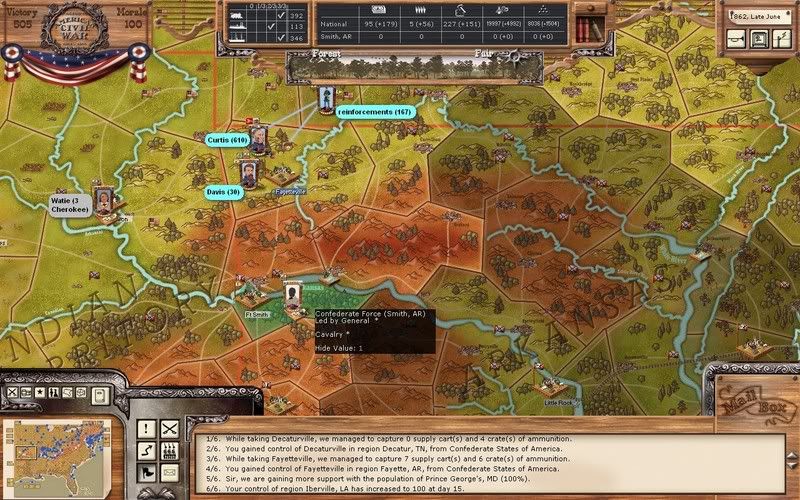
Lets start out in Missouri. Curtis strolls into Fayetteville unopposed. On the down side, however, its muddy again in the area, hampering my reinforcements from moving in (27 days to enter Fayetteville now!). On top of that, I've lost contact with Van Dorn's army; it seems to have been sent elsewhere, but where? When it does finally reemerge it'll cause unwelcome trouble elsewhere.
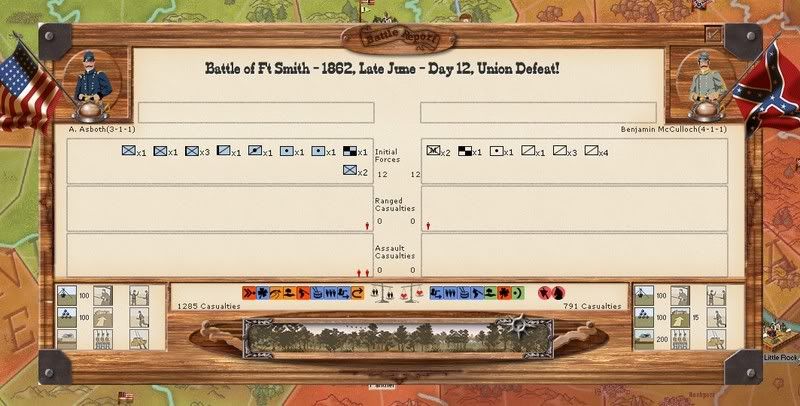
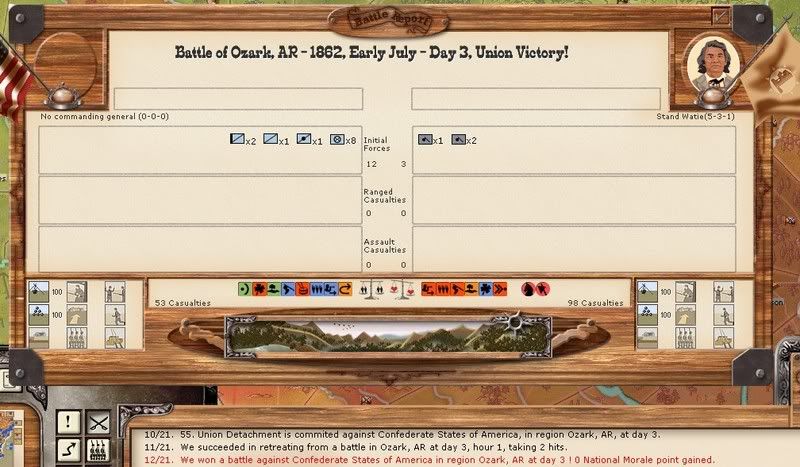
Curtis' next target should be Little Rock, although it would be useful to capture the rebel depot at Ft. Smith before pressing on. Of course, thats assuming it too does not get destroyed like the one at Fayetteville, as part of a Confederate scorched earth policy...and unlikely assumption it seems to me:
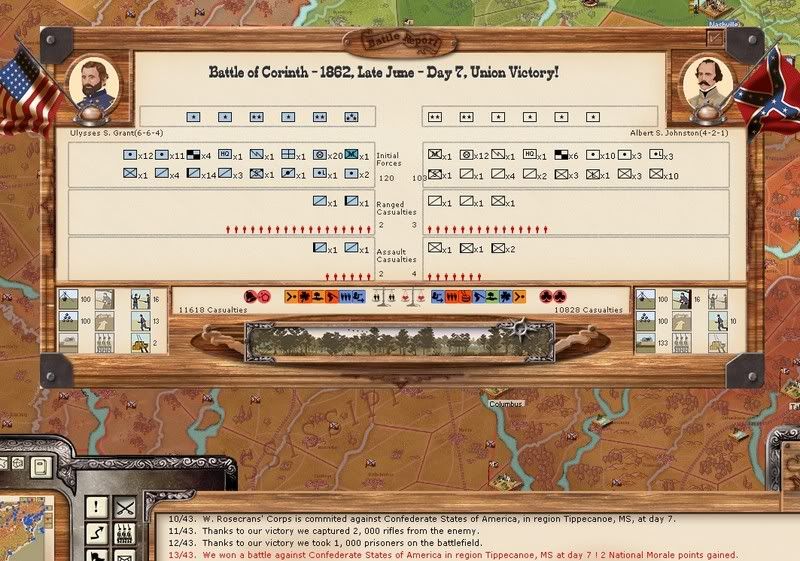
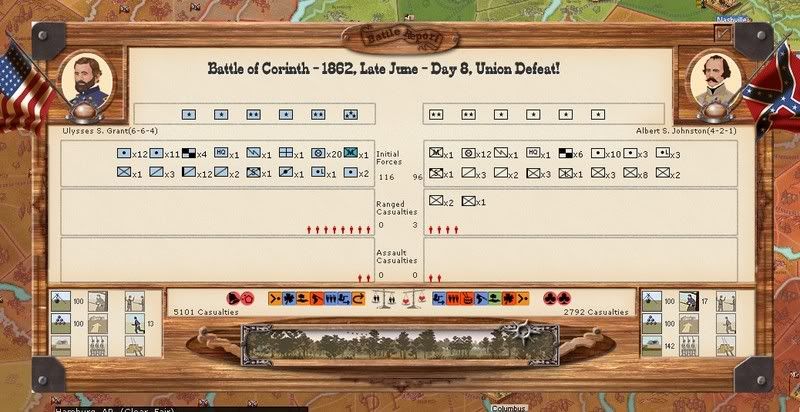
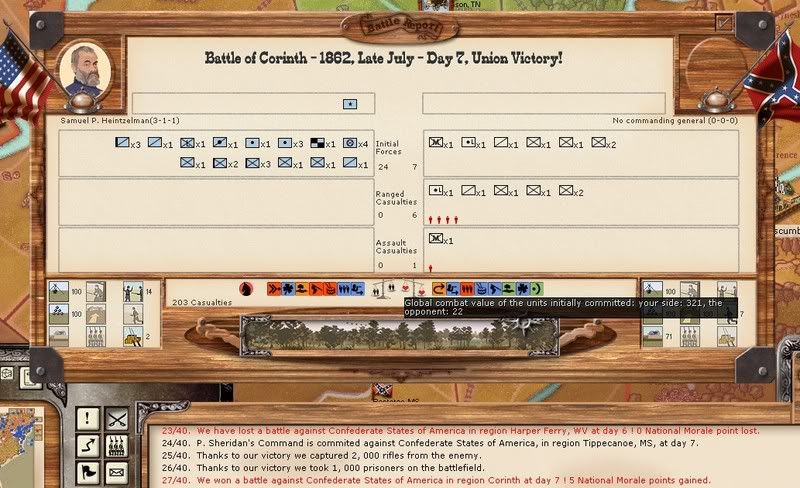
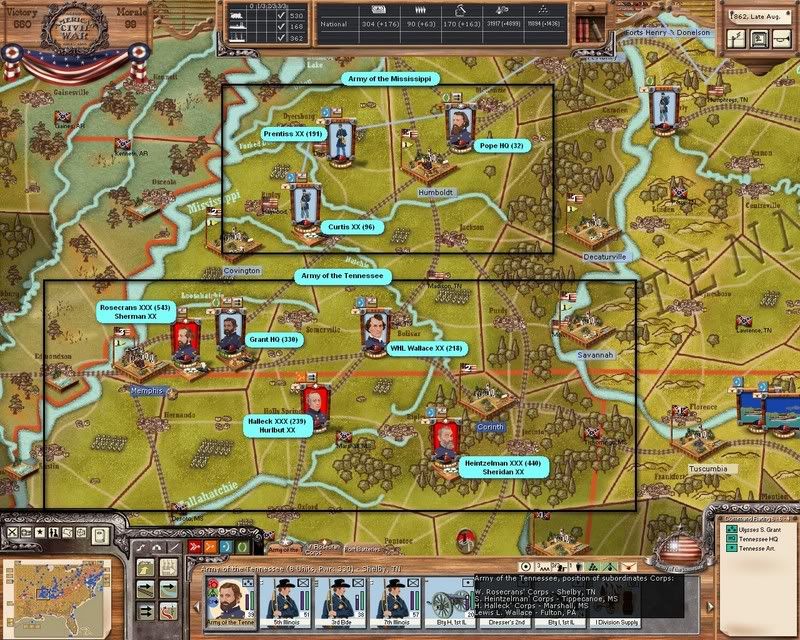
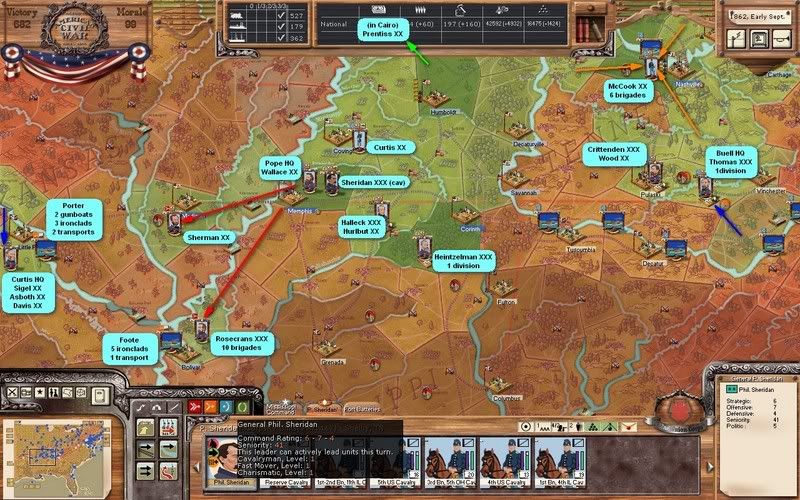
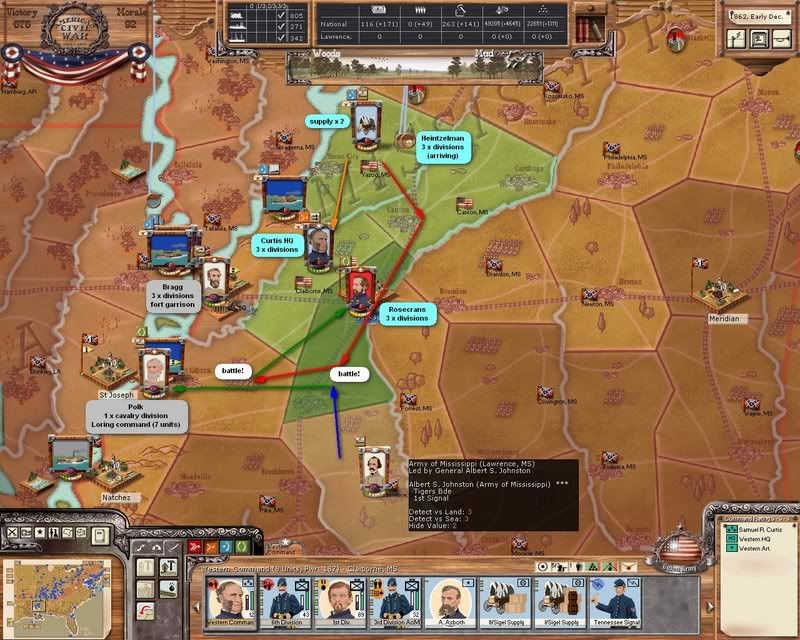
We were repulsed at Corinth. This battle points out the dangers of overreliance on sound-of-guns in battle calculations; both Rosecrans and Grant failed to react into the battle, leaving McClernand (who assumed command) slightly outnumbered:
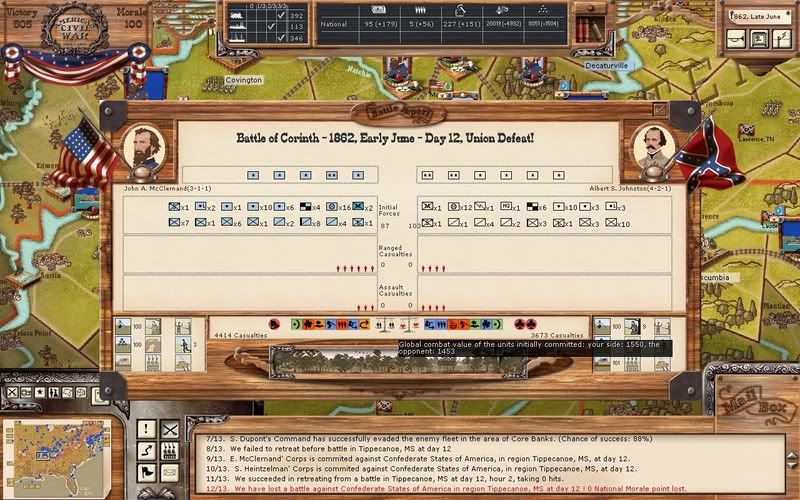
I now face the difficult decision of whether to try to go "all in" to Corinth again next turn, so spend some time recovering cohesiveness. The problem with delay is that I give the enemy time to both recover AND entrench as well:

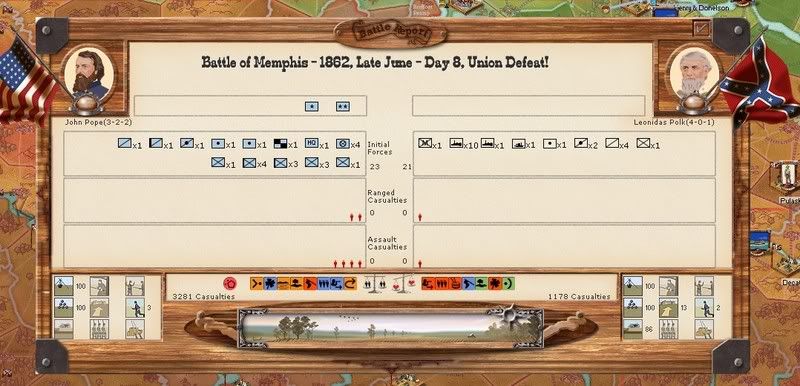
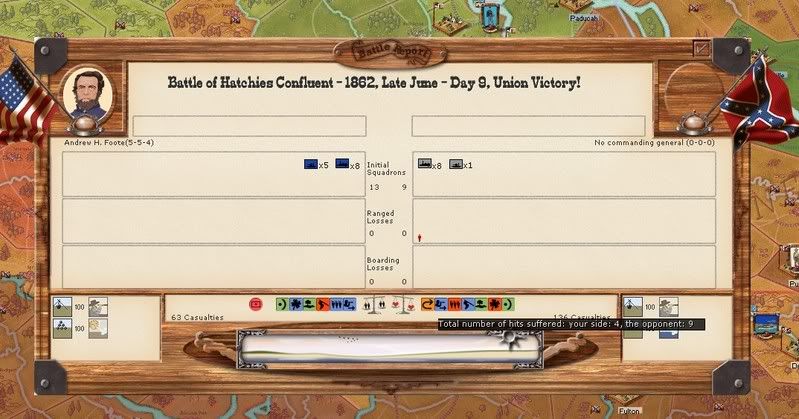
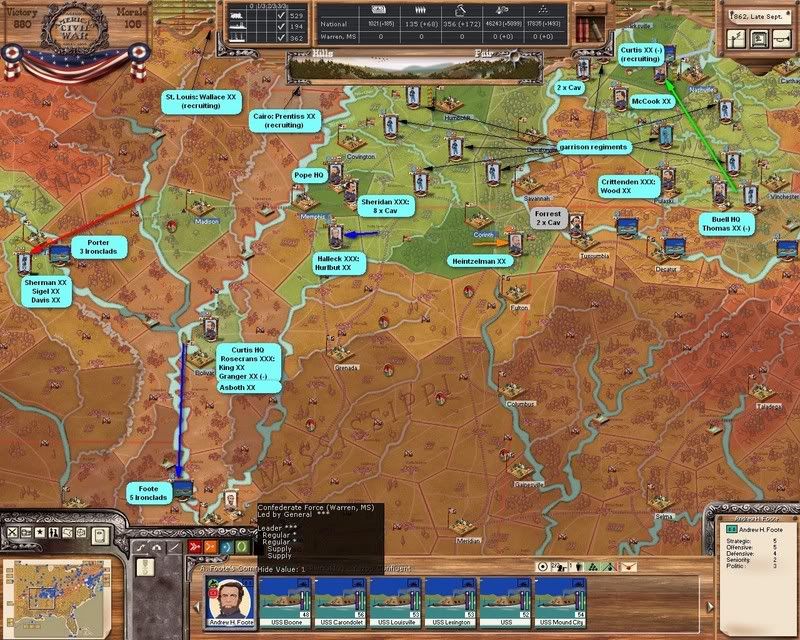
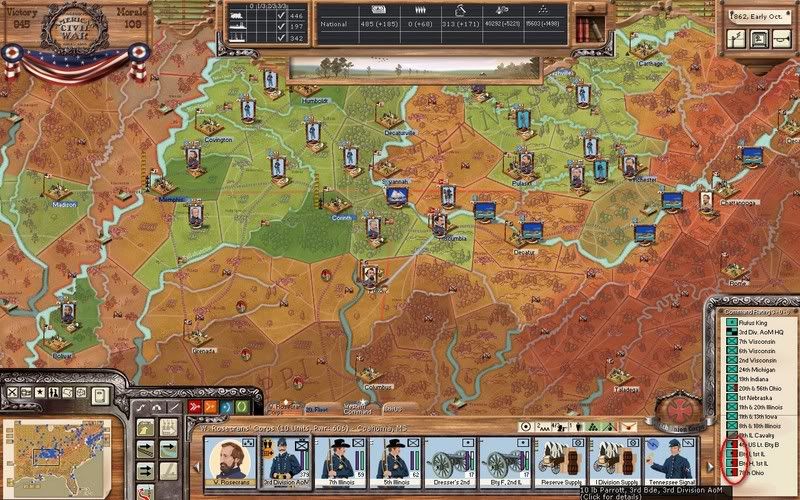
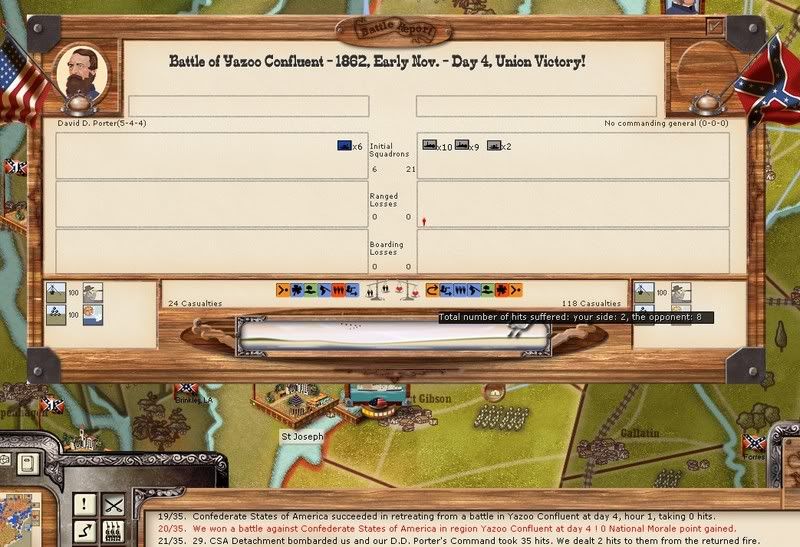
The one silver lining was Foote, whose daring run past Memphis landed him the midst of a Confederate "fleet" consisting of the ironclad Arkansas, plus a hodge podge of wooden gunboats and paddlewheel transports. This motley collection of leaky tubs seems meant to halt my river fleet under Foote, but in the Battle of Edmund's Ferry, a 23-to-4 naval engagement, my 4 ironclads came out ahead in an amusing turkey shoot, sinking 3 rebel gunboats:
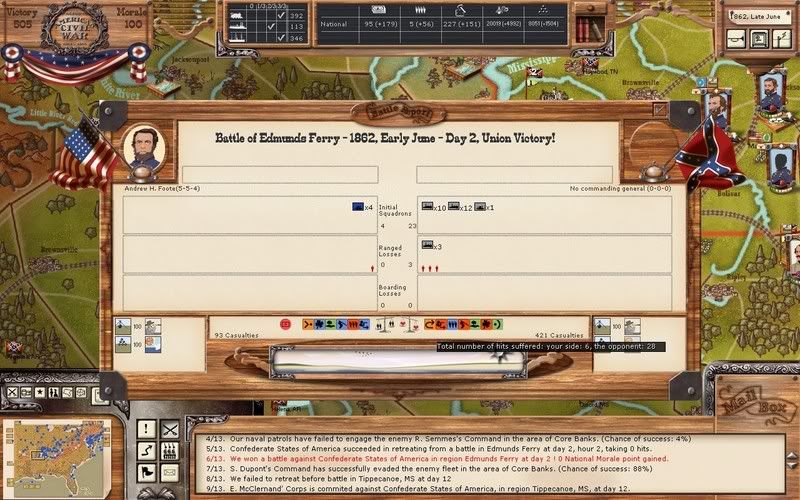
One ironclad of mine suffered minor damage. I'll need to withdraw Foote north of Memphis now, however; not so much in terror of this CSA fleet, but due to fatigue, supply and ammo considerations, and the need to cover Pope's landing from the transports in Hatchies Confluent next turn.
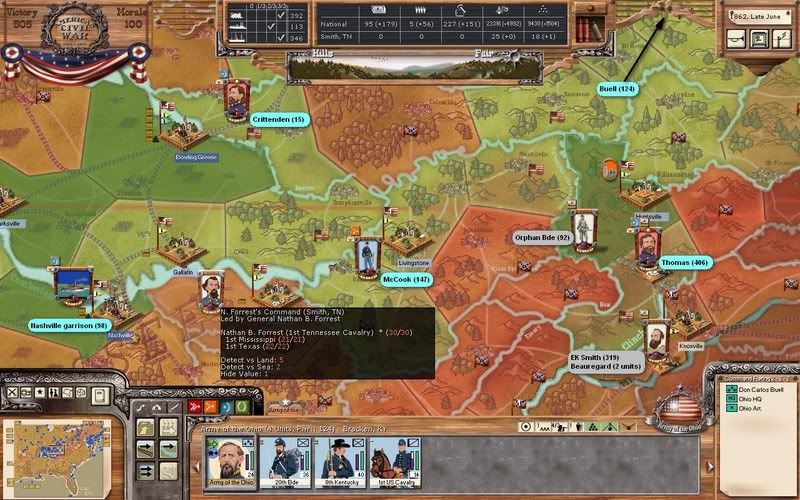
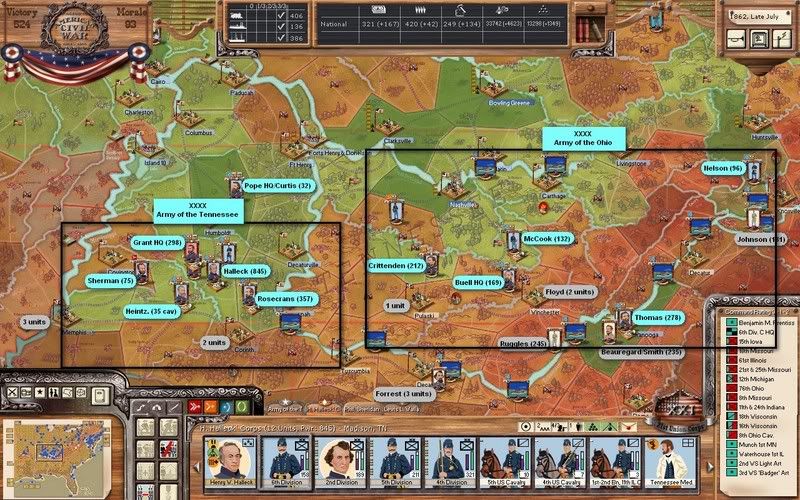
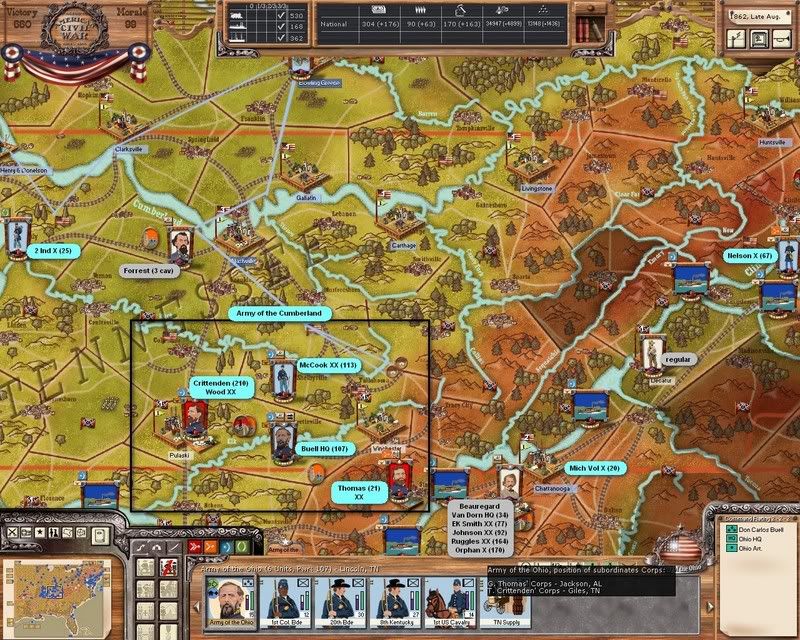
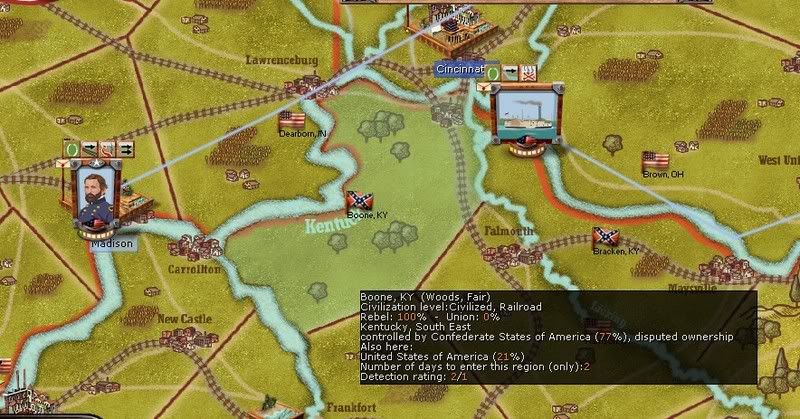
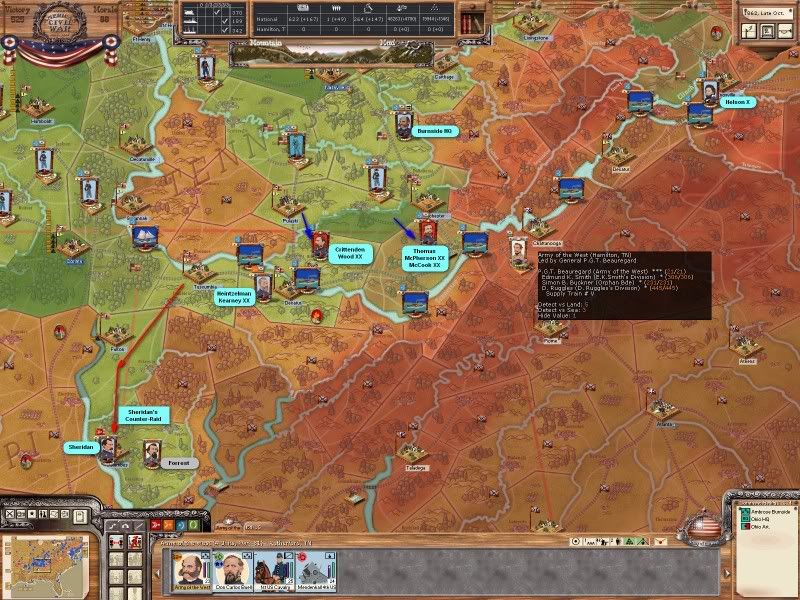
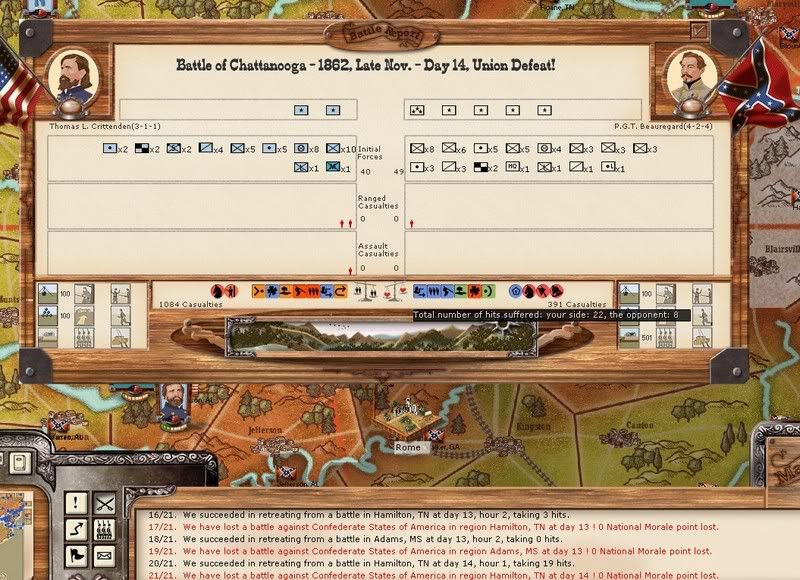
Finally, out in Kentucky/Middle Tennessee, more little frustrations. Most annoying being that *&^%$ bug-spawned Orphan Brigade; it reappeared right behind Thomas in the Gap, at Huntsville. Sigh...Crittenden wore out an entire division trying to bring it to battle (it has not had an opportunity to rest in fact, it is at power 15!); it seems to have the ability to survive off forage indefintely in the Kentucky wilds.
And every time a superior Union infantry force catches it...it withdraws. I don't know what else to do...except maybe form a large cavalry detatchment to squish it...which I do not have. Buell has exactly one independant cavalry regiment in the entire army (all other cavalry is brigaded with infantry). Grant cannot really spare any. That means I'll probably have to ask the C-in-C for some brand new cavalry...sigh.
I'd rather not ask for special new resources, due to the East needing help right now, much more than I do.
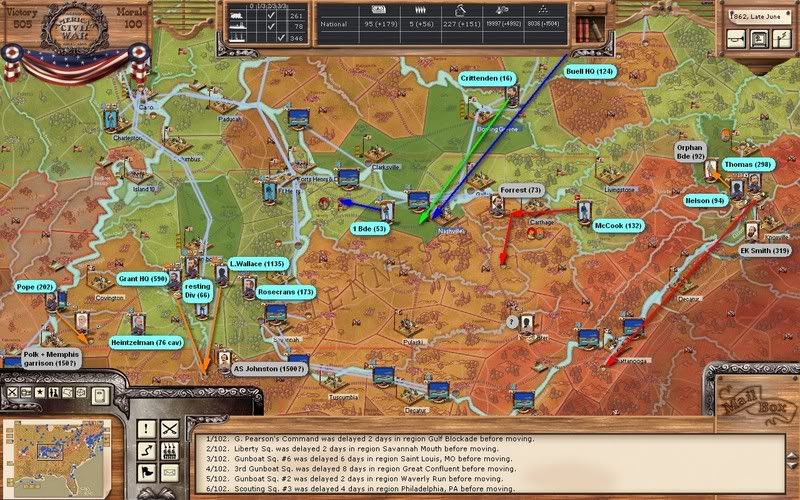
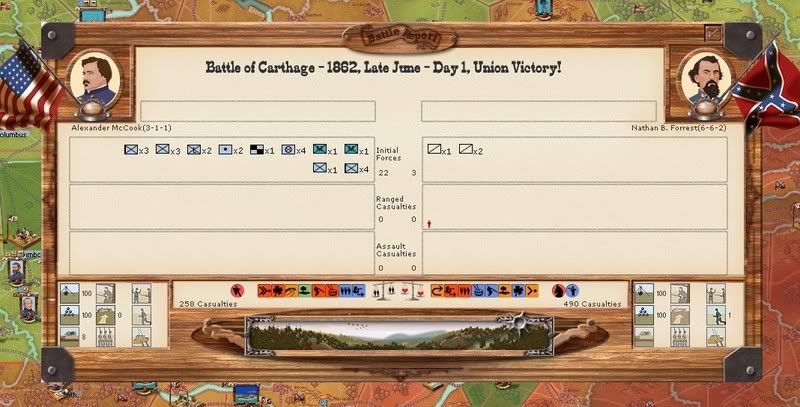
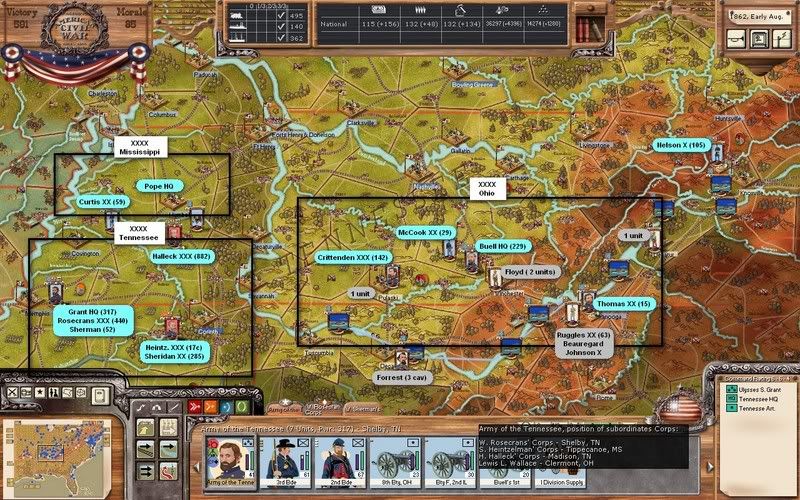
On top of this, Forrest is on the move, sieging Carthage. He may try to cross the Cumberland into Kentucky; I'll have to try to bar his way with gunboats. McCook's division happens to be one days march away (on his way to Nashville), so I may get a chance to battle him there (though he'll most likely successfully withdraw).
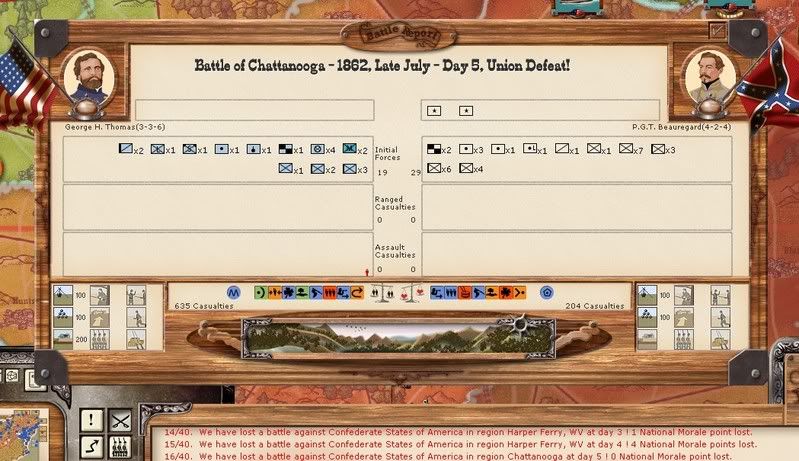
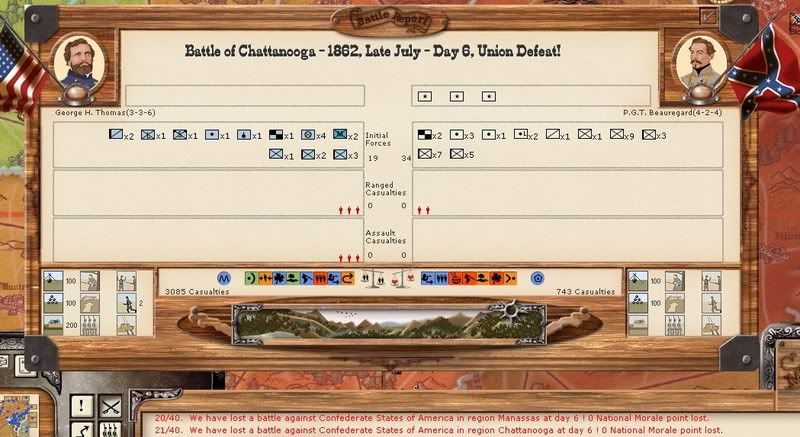
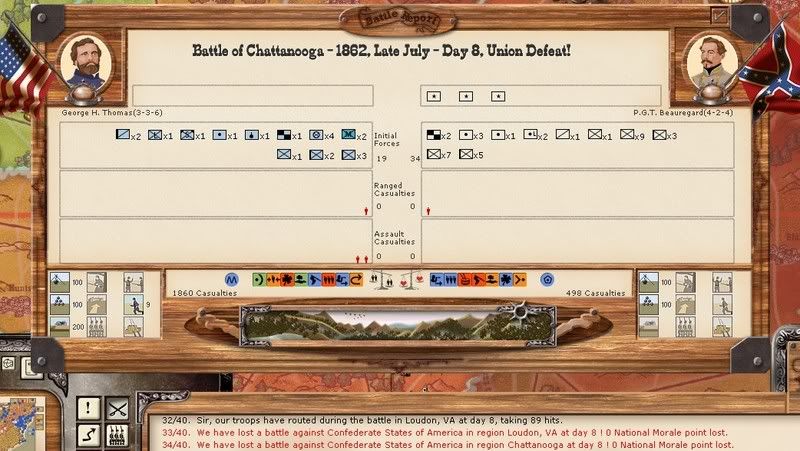
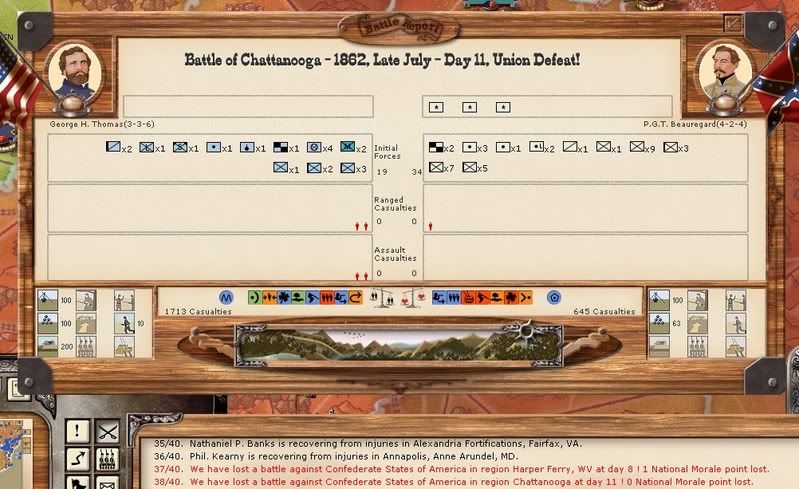
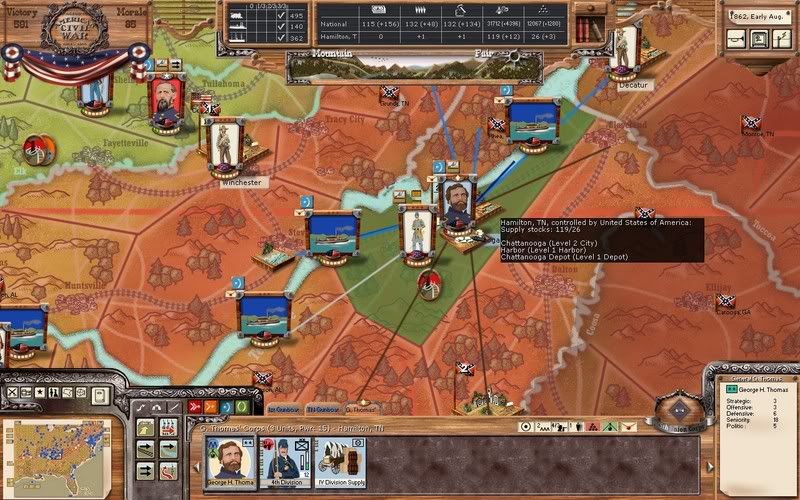
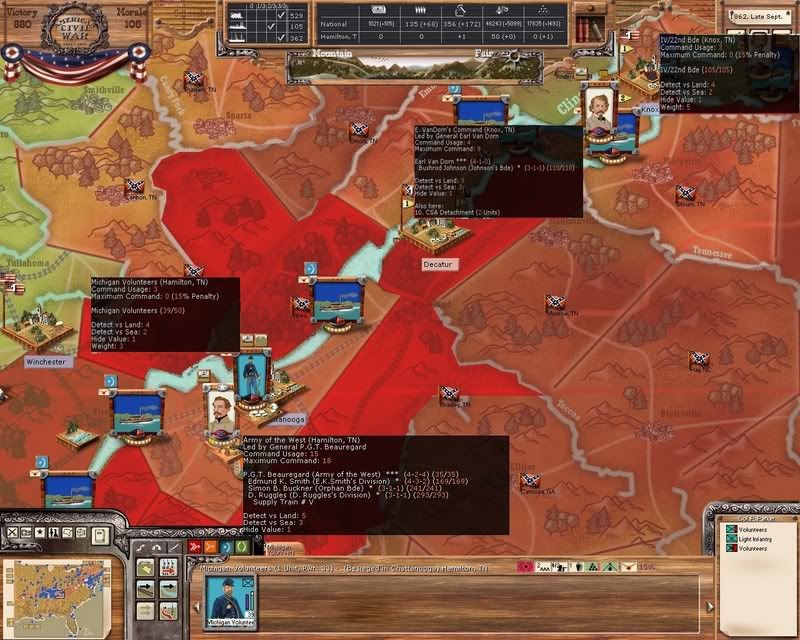
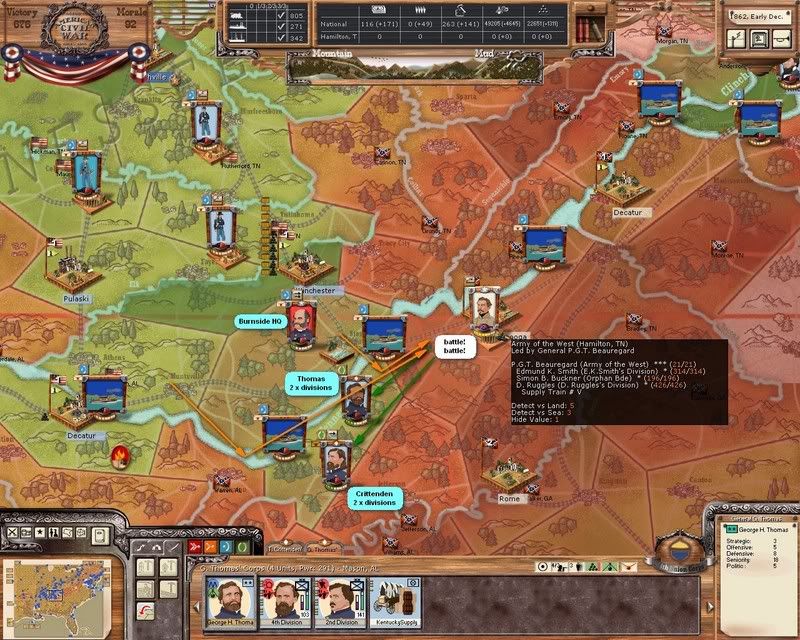
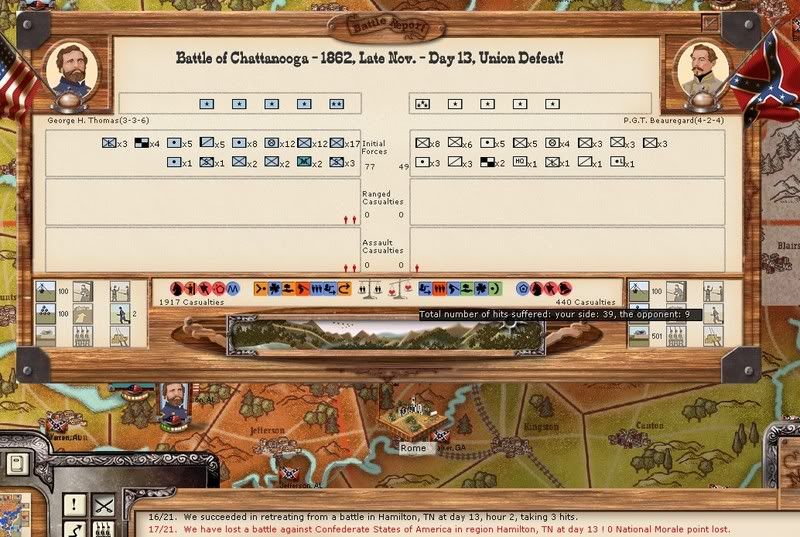
And on top of that...now Beauregard is in Knoxville, with 2 units, in addition to the super-entreched division under Smith. I get the distinct impression they don't want me to take Knoxville! Seems the best option is for Thomas to call it quits, leave a small detachment to guard to Gap, and head for central Tennessee where he can do some good. And hopefully kill that !@#& Orphan Bde while he's marching out.
The one bit of good news out there is Crittenden's worn out condition does NOT affect his Police ratings, and he was able to finally reopen the Cincinatti to Nashville rail line w/o a hitch: